

Hey, guys! School year is s-o-o-o close and of coarse we all want to have some cool and original supplies for our studies. I propose you to make pretty and adorable DIY label notebooks for any subject and to glam up some pencils (in case you are bored with the ones you have). Just follow these easy steps that I am about to describe to you in the post!
Здравствуйте, ребята! Учебный год не за горами и все мы хотим иметь крутые и оригинальные учебные принадлежности. Я предлагаю Вам сделать красивые блокноты для любых предметов и приукрасить карандаши (если Вам они кажутся скучными). Просто следуйте инструкции, которую я опишу в этом посте!
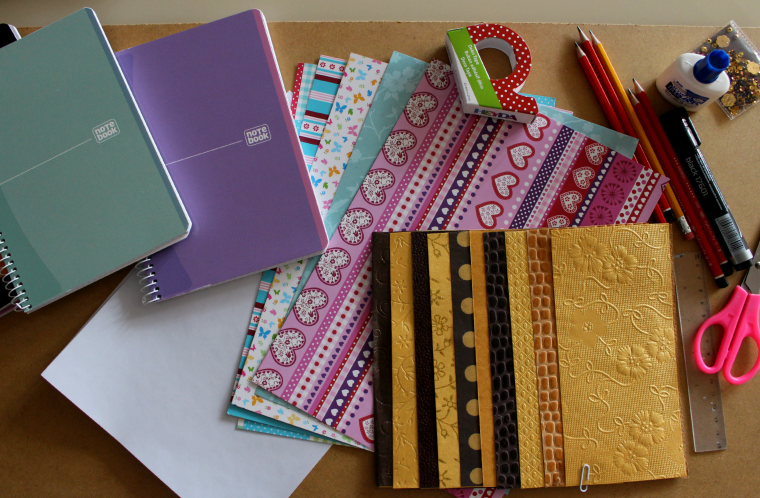
First of all, we need to get prepared! What do we need to do that:
- at least one notebook for the experiment
- several card stock papers of your choice
- paper sticker
- scissors
- glue
- marker
- washi tape or a deck tape
- a couple of pencils with no pattern
Прежде всего, нам нужно подготовиться! Что нам для этого нужно:
- хотя бы один блокнот для эксперимента
- несколько листов декоративной бумаги на Ваш выбор
- самоклеющаяся бумага
- ножницы
- клей
- маркер
- декоративный скотч
- пара карандашей без принта
1. Choose a paper for your notebook.
1. Выбираем бумагу для блокнота.
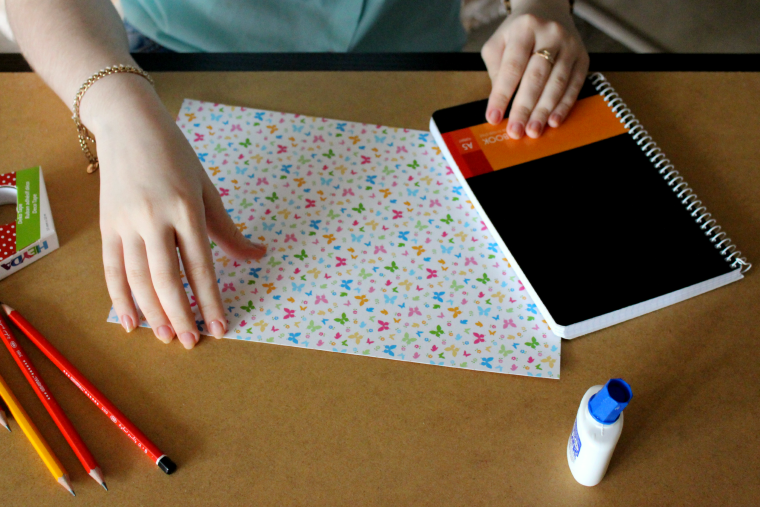
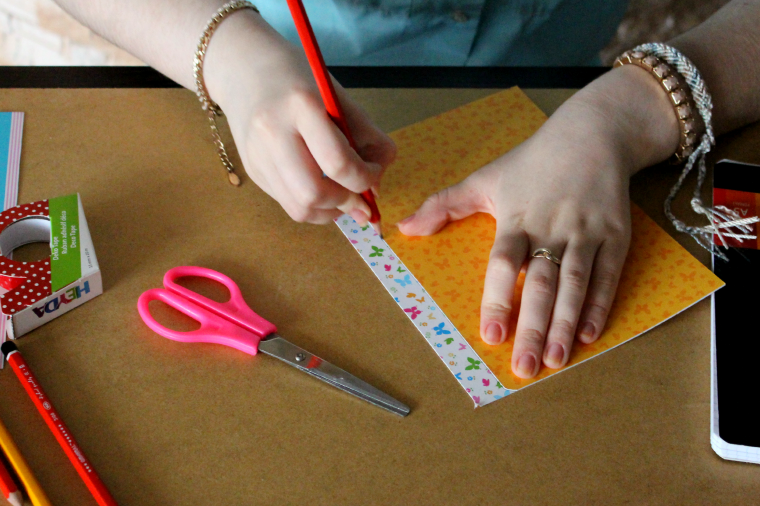
2. Make sure the paper is the same size as the cover of the notebook.
2. Делаем размер бумаги таким же как и размер блокнота.
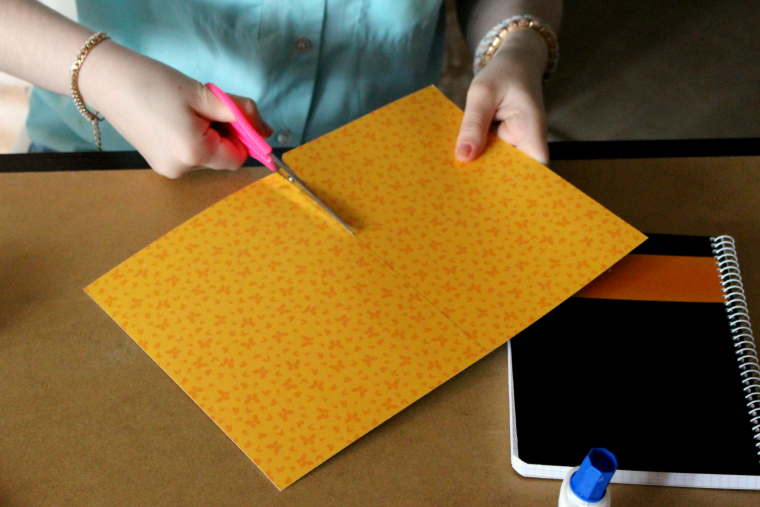
3. Trim the paper to fit your notebook.
3. Вырезаем бумагу.
4. Do the same thing for the back.
4. Повторяем процесс для обратной стороны блокнота.
5. Apply a thin layer of glue to the notebook.
5. Наносим тонкий слой клея на блокнот.

6. Place the paper on top.
6. Помещаем бумагу сверху блокнота.
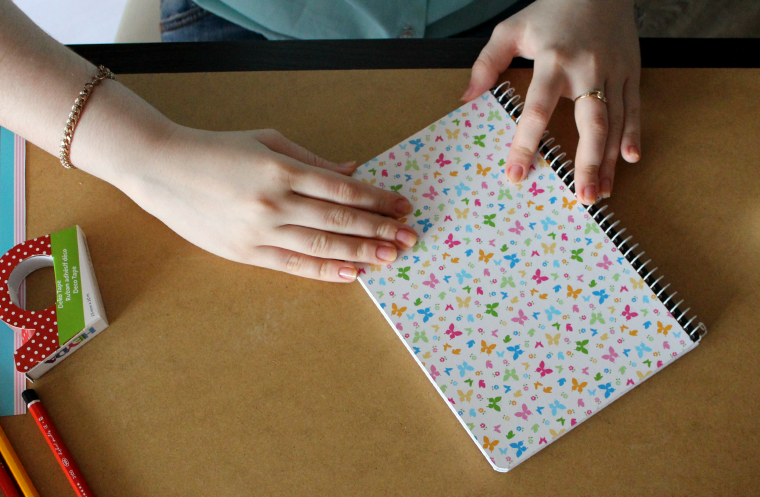
7. Do the same for the back of the notebook :)
7. Делаем те же действия для обратной стороны.

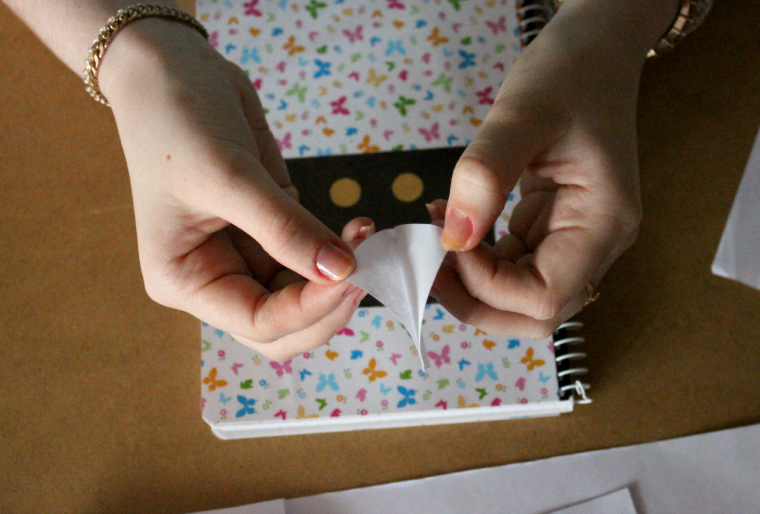
8. Cut the other card stock paper and put it on the top. (Glue will help you with that)
8. Вырезаем другой кусок декоративной бумаги и помещаем его сверху. (Тут нам поможет клей)

9. Use a dry erase strip or a common paper sticker to put it in the middle.
9. Наклеиваем самоклеющуюся бумагу посередине декоративной бумаги.
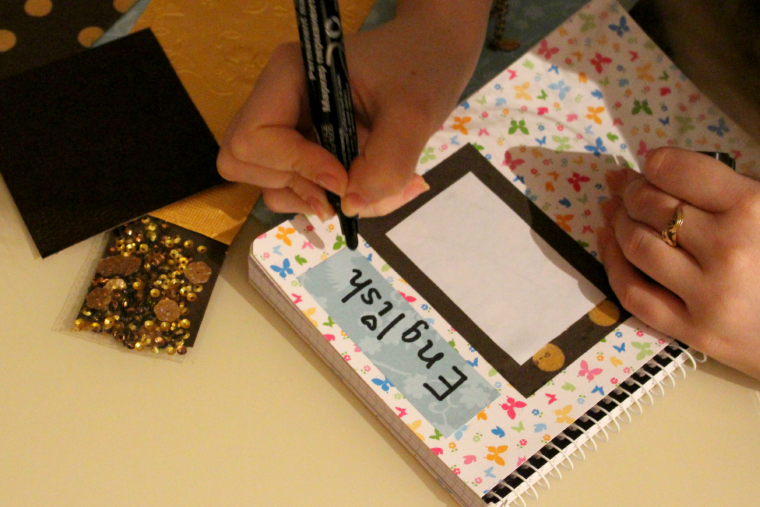
10. Add another paper for the name of the subject.
10. Клеем еще один кусочек декоративной бумаги для названия предмета.

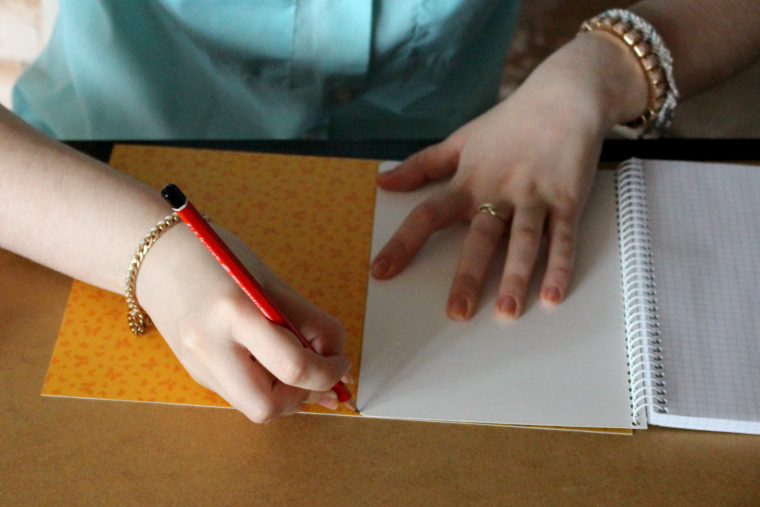
11. Write the name of the subject of your class at the top paper to personalize the notebook.
11. Пишим название предмета на верхнем кусочке бумаге.
Now we are ready to glam up our pencils! It's very easy - all you need to do is just to wrap the deck tape or a washi tape around your pencil. It takes only a few minutes.
Сейчас мы готовы украсить наши карандаши! Все очень просто - нужно всего лишь обернуть карандаш декоративным скотчем. Это занимаем несколько минут.


And we are done with the first DIY post on my blog. Hope you, guys, enjoyed it and let me know if you'd like me to make some more. Good luck!
И мы закончили с первым постом "Умелых ручек" в моем блоге. Надеюсь, что Вам понравилось и дайте мне знать, если бы Вам хотелось видеть подобные посты. Удачи!

Cool!
ReplyDelete